
A clean, properly sealed shower not only looks better but also helps prevent water damage, mold growth, and costly repairs. Learning how to caulk a shower correctly is an essential bathroom maintenance skill that can improve waterproofing and extend the life of your shower.
Whether you’re replacing old bathroom caulk around tile corners, a bathtub, or shower joints, following the right process will help you achieve professional-looking results.
Why Shower Caulking Matters
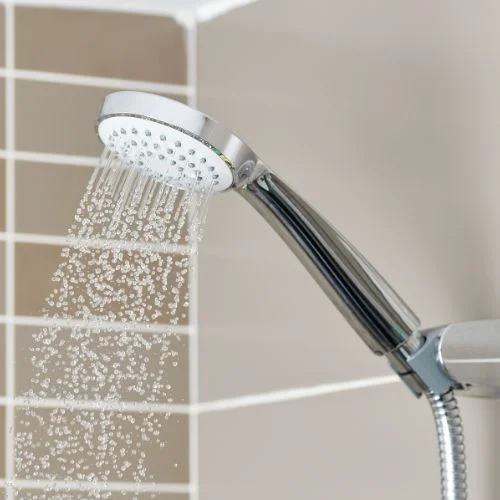
Shower caulking creates a waterproof seal where walls, tile, tubs, and shower pans meet. Over time, caulk can crack, shrink, peel, or develop mold and mildew. When this happens, water can penetrate behind tile and cause damage to drywall, framing, and other building materials.
Using a quality mold-resistant caulk and proper silicone caulk application techniques can help protect your bathroom from moisture problems.
Tools and Materials You’ll Need
Before getting started, gather the following supplies:
- Silicone caulk
- Caulk gun
- Painter’s tape or masking tape
- Utility knife
- Caulk remover tool
- Denatured alcohol
- Cleaning cloths
- Paper towels
Many homeowners choose products such as GE Advanced Silicone or Dap bathroom caulk because of their durability and moisture resistance.
Step 1: Remove Old Caulk
The first step is removing any existing caulk.
Use a utility knife or caulk removal tool to cut along both sides of the old bead. Carefully pull away the deteriorated material and remove any remaining silicone residue.
A clean surface is critical for proper adhesion.
Step 2: Clean the Area Thoroughly
After removing old caulk, clean the shower joints and surrounding tile.
Use denatured alcohol to remove residue, soap scum, oils, and contaminants. Allow the surface to dry completely before applying new caulk.
Moisture trapped beneath fresh caulk can reduce adhesion and encourage mold growth.
Step 3: Apply Painter’s Tape
For sharp, professional-looking lines, apply painter’s tape along both sides of the joint.
The painter’s tape method helps control the width of the bead and minimizes cleanup. Leave a small gap between the tape strips where the caulk will be applied.
This step is especially useful for corner caulking and visible shower seams.
Step 4: Prepare the Caulk Gun
Load the silicone caulk tube into the caulk gun.
Cut the nozzle at a 45-degree angle and puncture the inner seal if necessary. A smaller opening generally provides better control and helps create a smooth caulk bead.
Practice on a scrap surface if you’ve never used a caulk gun before.
Step 5: Apply the Caulk
Using steady pressure, apply a continuous bead of caulk along the joint.
Maintain consistent movement while using proper caulk gun technique. Try to avoid stopping and starting frequently, as this can create uneven sections.
The goal is a uniform bead that completely fills the gap without excessive buildup.
Step 6: Smooth the Caulk Bead
Immediately after application, smooth the bead before a skin begins to form.
Many professionals use the wet finger technique by lightly dampening a finger and running it along the caulk line. This helps create a smooth finish and improves contact with both surfaces.
Some installers also use specialized caulking tools for even more consistent results.
Step 7: Remove the Tape
Carefully remove the masking tape while the caulk is still wet.
Pull the tape away slowly at an angle to reveal clean, crisp edges. Waiting too long can cause the caulk to tear as the tape is removed.
This step is what often gives professional caulking jobs their polished appearance.
Step 8: Allow Proper Drying Time
After finishing the application, allow adequate caulk drying time before using the shower.
Drying and curing times vary depending on the product used. Always follow the manufacturer’s recommendations for shower use and full cure times.
Avoid exposing the caulk to water until it has fully cured.
Caulk vs Grout: What’s the Difference?
Many homeowners confuse bath caulk vs grout, but each serves a different purpose.
Grout is used between tiles to fill joints and create a finished appearance. Caulk is used in areas where movement may occur, such as corners, changes in plane, and transitions between materials.
Using caulk instead of grout in these areas helps prevent cracking and maintains a waterproof seal.
Choosing the Right Caulk Color
A proper caulk color match can improve the overall appearance of your bathroom.
Popular options include:
- White
- Clear
- Almond
- Gray
- Custom tile-matching colors
Choosing a color that complements your tile and grout helps create a cleaner, more professional finish.
Final Thoughts
Learning how to caulk a shower properly can save money, improve bathroom waterproofing, and prevent moisture-related damage. By removing old caulk, preparing the surface correctly, using painter’s tape, and applying a smooth silicone caulk bead, homeowners can achieve results that look professionally installed.
With quality products, proper technique, and patience, a freshly caulked shower can provide years of protection while keeping your bathroom looking clean and well maintained.